
How can we help?
Adding and Editing Sections with Elementor
Welcome to IACPATTERNS! Adding and editing sections is fundamental to building a well-structured and visually appealing website with Elementor. This guide will walk you through the process of creating and customizing sections to suit your design needs.
Accessing Elementor
- Log in to Your WordPress Dashboard
- Navigate to
yourdomain.com/wp-admin. - Log in with your WordPress admin credentials.
- Navigate to
- Open Elementor Editor
- Go to ‘Pages’ -> ‘All Pages’ and select a page to edit with Elementor.
- Click ‘Edit with Elementor’ to open the Elementor interface.
Adding a New Section
- Adding a Section
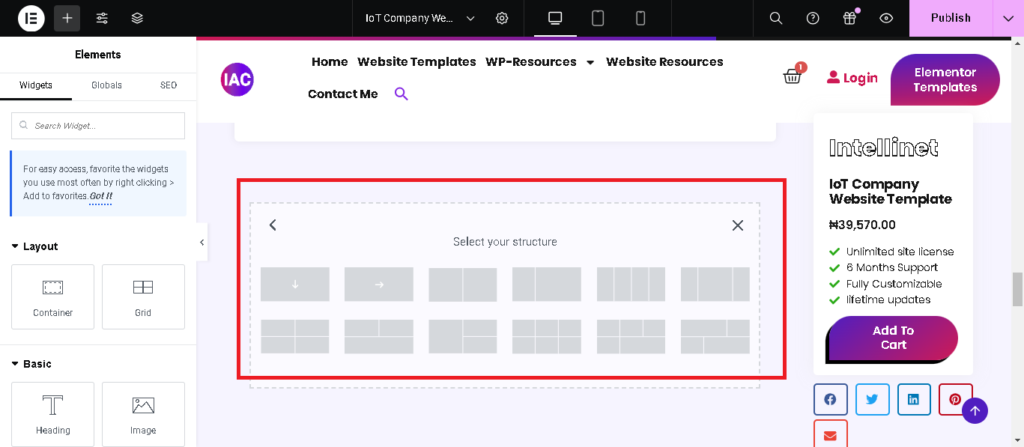
- Click the ‘+’ icon in the main editing area (Canvas) to add a new section.
- A popup will appear with different section structures (number of columns). Choose the structure that fits your design needs.
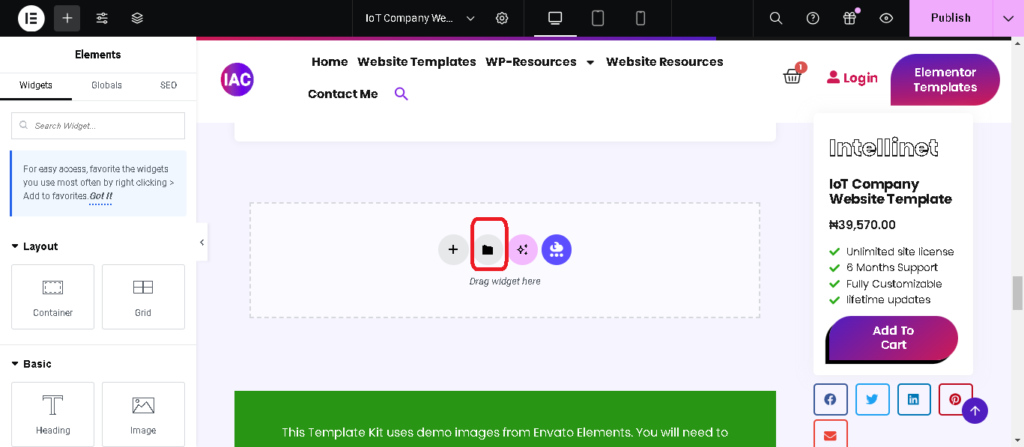
- Adding a Template
- Click the folder icon to browse and insert pre-designed section templates from the Elementor library.
- Search for a template that fits your needs, click on it, and then click ‘Insert’.
Editing a Section
- Selecting a Section
- Click on the section handle (the blue tab at the top of the section) to select the section you want to edit.
- Section Layout
- In the Elementor panel, go to the ‘Layout’ tab to adjust the section’s layout settings:
- Content Width: Choose between Boxed or Full Width.
- Column Gap: Set the gap between columns (No Gap, Narrow, Extended, etc.).
- Height: Adjust the height of the section (Fit to Screen, Min Height, etc.).
- Vertical Align: Align content vertically (Top, Middle, Bottom).
- In the Elementor panel, go to the ‘Layout’ tab to adjust the section’s layout settings:
- Section Style
- Go to the ‘Style’ tab to customize the section’s appearance:
- Background: Set a background color, gradient, image, or video.
- Background Overlay: Add an overlay with color or gradient.
- Border: Set border type, width, color, and radius.
- Shape Divider: Add decorative shapes to the top or bottom of the section.
- Typography: Customize the typography settings for text within the section.
- Go to the ‘Style’ tab to customize the section’s appearance:
- Section Advanced Settings
- Go to the ‘Advanced’ tab for more customization options:
- Margin and Padding: Adjust the margin and padding values for spacing.
- Z-Index: Set the stack order of the section.
- Motion Effects: Add entrance animations and scrolling effects.
- Responsive: Control the visibility of the section on different devices (Desktop, Tablet, Mobile).
- Custom CSS: Add custom CSS code for advanced styling (available in Elementor Pro).
- Go to the ‘Advanced’ tab for more customization options:
Adding and Editing Columns
- Adding a Column
- Right-click on the section handle and select ‘Add New Column’ to add a new column within the section.
- Editing a Column
- Click on the column handle (the grey tab at the top of the column) to select the column you want to edit.
- Column Layout
- In the Elementor panel, go to the ‘Layout’ tab to adjust the column settings:
- Vertical Align: Align content vertically within the column (Top, Middle, Bottom).
- Horizontal Align: Align content horizontally within the column (Start, Center, End).
- Column Width: Set the width of the column as a percentage.
- In the Elementor panel, go to the ‘Layout’ tab to adjust the column settings:
- Column Style
- Go to the ‘Style’ tab to customize the column’s appearance:
- Background: Set a background color, gradient, or image.
- Border: Set border type, width, color, and radius.
- Go to the ‘Style’ tab to customize the column’s appearance:
- Column Advanced Settings
- Go to the ‘Advanced’ tab for more customization options:
- Margin and Padding: Adjust the margin and padding values for spacing.
- Z-Index: Set the stack order of the column.
- Motion Effects: Add entrance animations and scrolling effects.
- Responsive: Control the visibility of the column on different devices (Desktop, Tablet, Mobile).
- Custom CSS: Add custom CSS code for advanced styling (available in Elementor Pro).
- Go to the ‘Advanced’ tab for more customization options:
Adding and Customizing Widgets
- Adding Widgets
- Drag a widget from the Elementor panel (left sidebar) and drop it into a section or column on the Canvas.
- Customizing Widgets
- Click on the widget to open its settings in the Elementor panel.
- Customize the widget’s content, style, and advanced settings as needed.
Saving and Managing Sections
- Saving a Section as a Template
- Right-click on the section handle and select ‘Save as Template’.
- Name your template and click ‘Save’. You can now reuse this section template on other pages.
- Managing Saved Templates
- In the WordPress dashboard, go to ‘Elementor’ -> ‘Templates’ -> ‘Saved Templates’.
- Here you can edit, delete, and manage your saved section templates.
Adding and editing sections with Elementor is essential for creating a well-structured and visually appealing website. By mastering the use of sections, columns, and widgets, you can design beautiful and functional web pages with ease. If you have any questions or need further assistance, feel free to reach out to our support team at IACPATTERNS. Happy designing!